 Docs
Docs
 Support


Hexa Samosa Maker Tray Makes 24 Mini Samosas-Multicolor
Original price was: ₹699.00.₹10.00Current price is: ₹10.00.
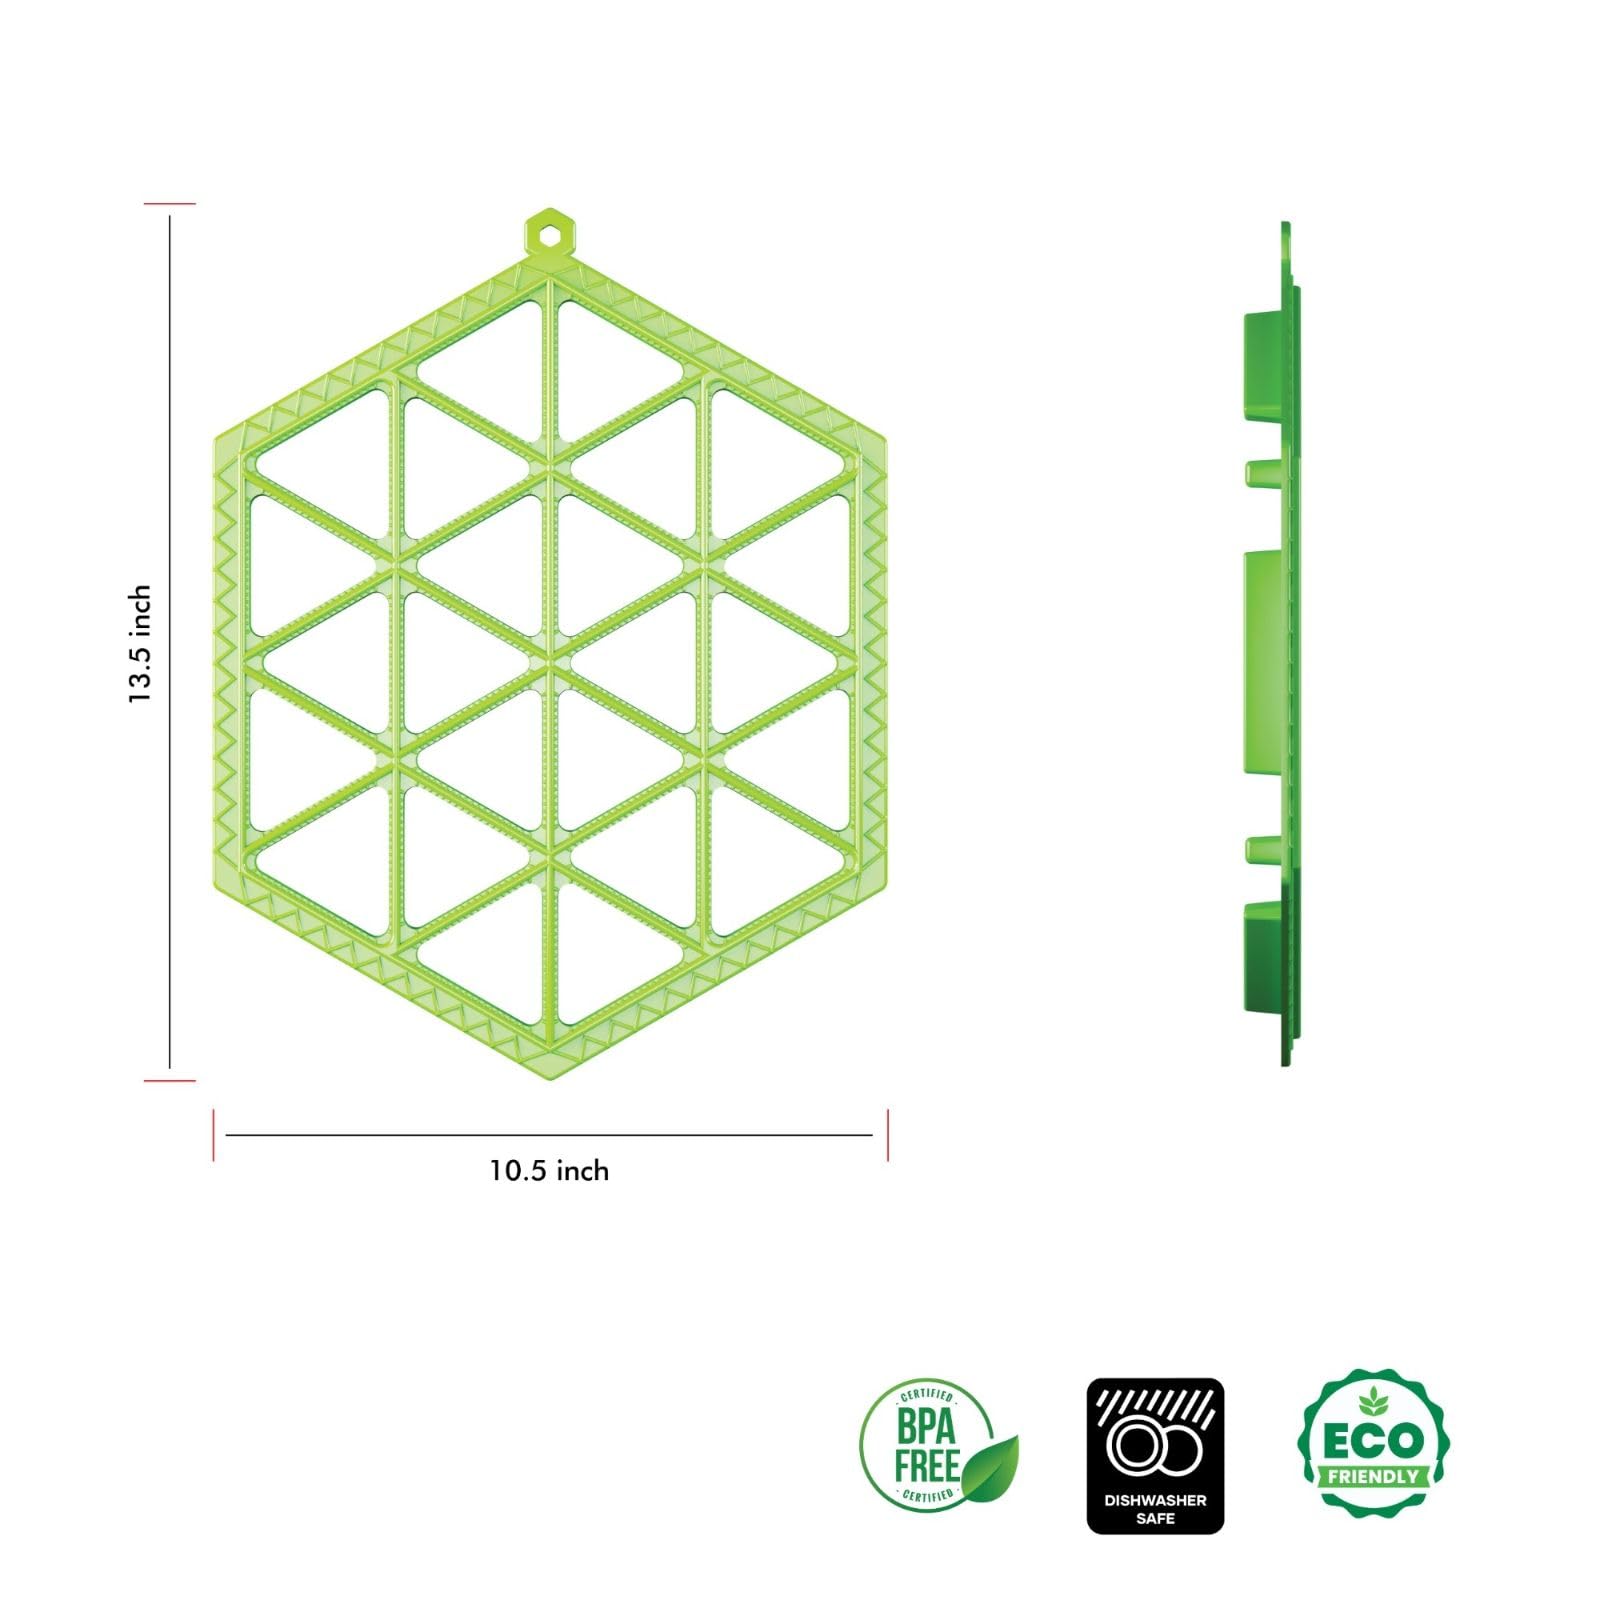
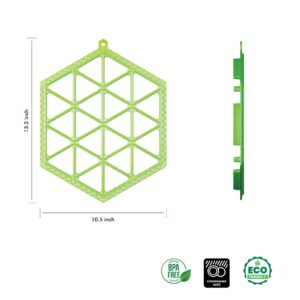
Hexa Samosa Maker Tray (Makes 24 Mini Samosas) – Quick & Easy Samosa Mould | Durable, BPA-Free Food-Grade Plastic | Perfect for Parties & Snacks | Dishwasher Safe Kitchen Tool
Homemade Samosas, Made Effortlessly.
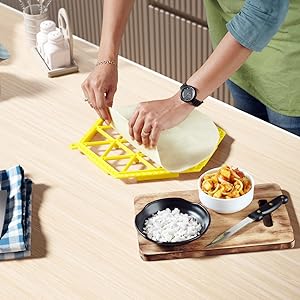
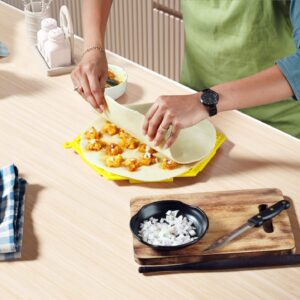
Put The First Layer
Step 1: Lay the First Layer of Dough Roll out your first sheet of dough. Carefully place it over the entire samosa maker tray, making sure it covers all the pockets.
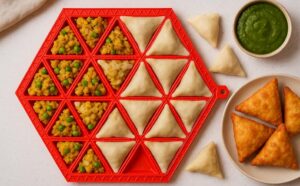
Fill The Stuffing
Step 2: Fill the Pockets Add one spoonful of your cooled filling into the center of each triangular pocket on the tray. Try not to overfill.

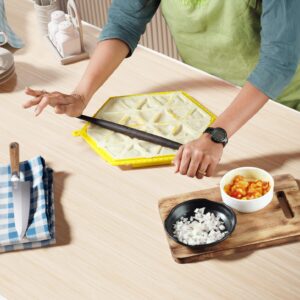
Put The Second Layer
Step 3: Add the Second Layer of Dough Place a second sheet of dough over the top, covering the filling and the first layer. Gently press down with your hands to remove any large air pockets.
Step 4: Use the Roller to Seal & Cut Take the special roller and press down firmly as you roll it across the entire tray. This action perfectly cuts and seals each samosa at the same time. Use firm, even pressure for the best seal.
Not All Plastic is Created Equal.
We genuinely care about the products our customers use. That’s why we selected a thick, durable, 100% BPA-free, food-grade plastic for our mold. It’s rigorously tested to be safe for your family, resistant to wear, and built to give you the best value by lasting for years of happy cooking.
Only logged in customers who have purchased this product may leave a review.
Related products
-
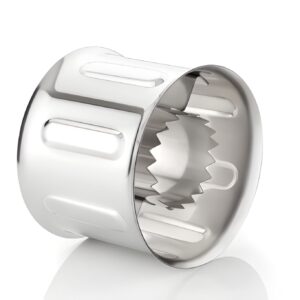
Corn Cutter/Corn Stripper, Corn Seeds Remover
0Original price was: ₹799.00.₹249.00Current price is: ₹249.00.


 Home
Home  Whishlist
  Compare
  Checkout
Reviews
There are no reviews yet.